by Jay Roberts, Roland DGA Product Manager - UV Printers
Nearly every day, someone, somewhere sets up an LEF2 printer. This Quick Tip provides end users with information on settings they can use to enhance their overall printer experience with the LEF2.
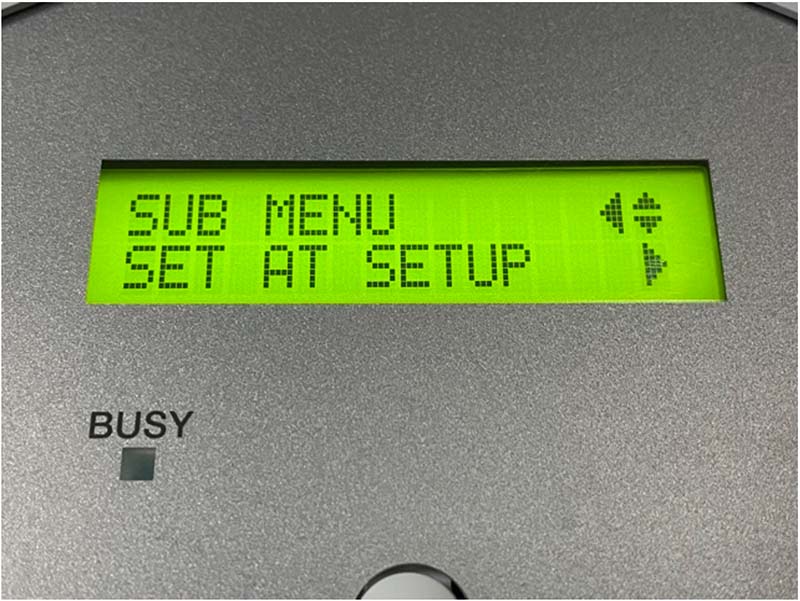
Tip #1 – Enable Set at Setup
This requires the user to set up the print each time the media is set up. It prevents printing in the incorrect position by specifying the print area each time before setting up the object to be printed on.
Note: To print in the same position repeatedly, specify "DISABLE" for this setting
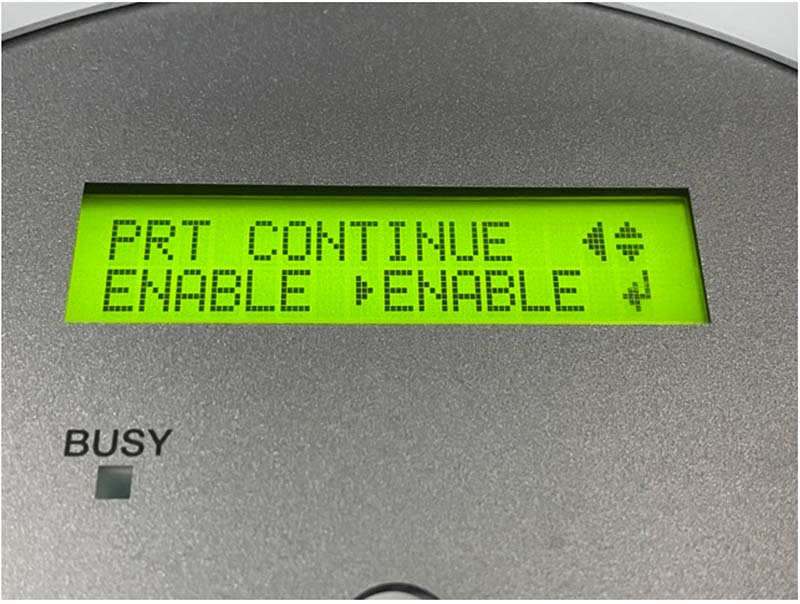
Tip #2 – Enable Print Continue
Select this setting when you want to output multiple data entries in a row, without replacing the object to be printed on. This function is useful when you want to overlay multiple images on a single object that will be printed on.
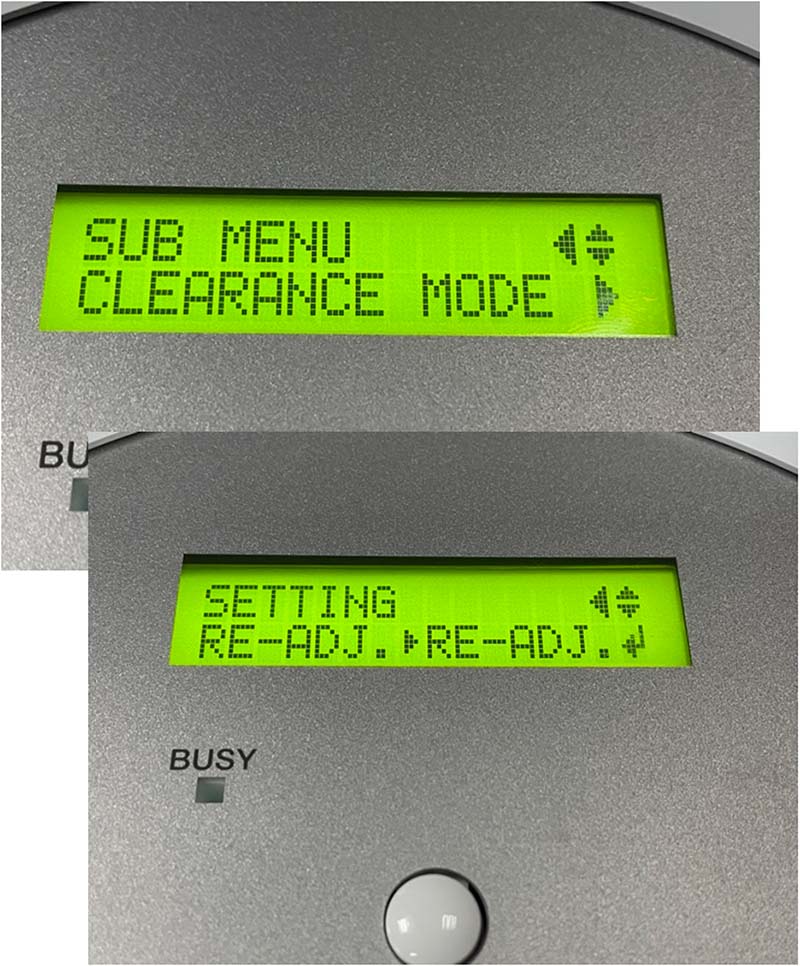
Tip #3 – Enable Clearance Mode to Readjust
This requires the user to set up the print each time the media is set up. It prevents printing in the incorrect position by specifying the print area each time before setting up the object to be printed on.
Note: Even if "RE-ADJ" is selected, printing and setup will be canceled in the following cases:
- When the height reaches the maximum value (threshold) of automatic adjustment
- When the object to be printed on comes into contact with the head gap sensor during automatic readjustment, even if the flat table has moved to the bottom
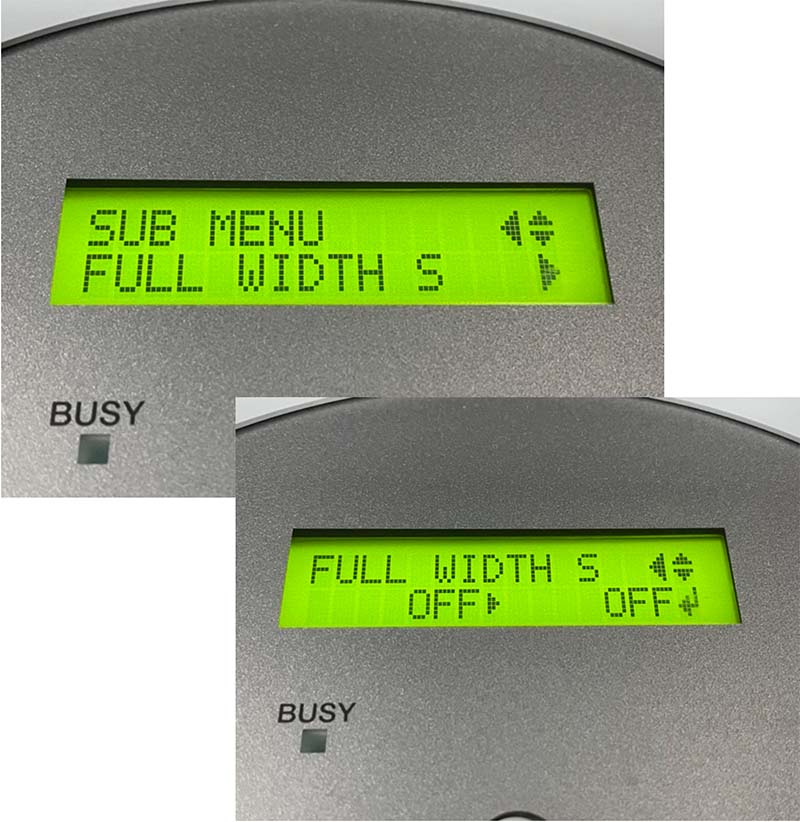
Tip #4 – Turn Full-Width Scan to OFF
"OFF" matches the range of print heads movement to the print data.
The print area will be determined by the file or graphic area in the file.
Movement is limited to the minimum amount necessary, and this can be expected to yield the fastest printing. When this feature is used, the time needed for the ink to harden is not constant, and an uneven color may result.
