Cutting Window Tint Patterns
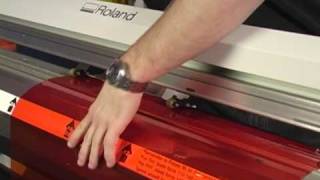
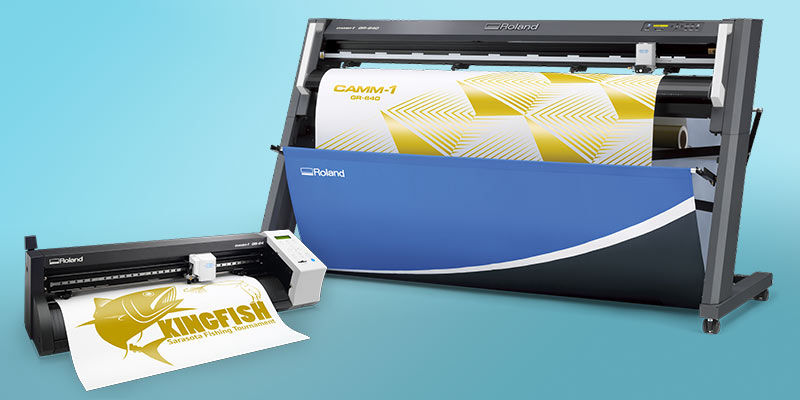
Today we're going to show you how to digitally cut and apply automotive window tint to a vehicle using the Roland DG GX-400 cutter.
You can cut anything from a standard template in one color of window film to custom lettering and logos in single or multiple colors.
This low-cost, easy-to-learn installation method can also be combined with vinyl graphics and other vehicle personalization applications for a beautiful, custom look.
The window tinting market has existed for decades, and the Roland DG GX-400 pro cutter is the number one tool tinting professionals are now using to increase efficiency, minimize waste, and maximize profits.

Steps for Window Tinting
To begin, let’s make sure you have everything on hand. In addition to standard tint application tools and media, you’ll need a Roland DG GX-400 cutter, a computer, and Film Designs software.
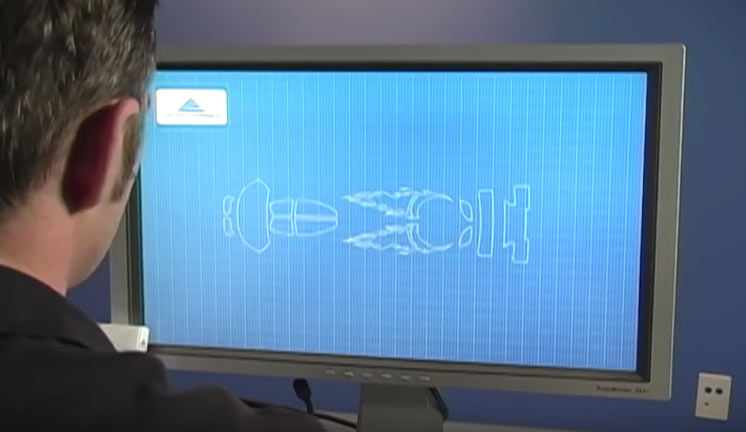
Film Designs lets you enlarge, reduce, reposition, rotate and mirror images. It also cuts TrueType fonts without outlining. Film Designs imports BMP, JPG, DXF, TIF, AI and EPS files, along with a vast database of existing window film and paint protection film pattern kits.
The GX-400 plotter cuts perfect patterns in window film (pause) saving time and eliminating the waste typically associated with hand cutting.
The first thing you need to do is load the window film into the GX-400 cutter.
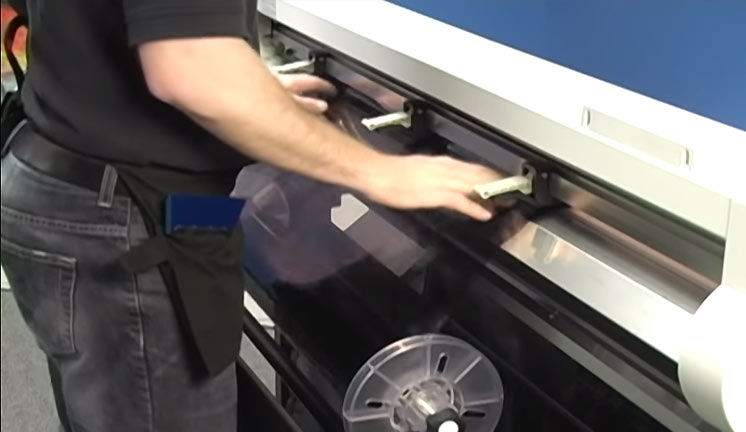
Next you’ll setup your GX-400. Lock down the pinch roll wheels (pause) then set the 25 degree blade in the blade holder. Adjust the blade extension to the thickness of the film.
The GX-400 Control Panel is easy to navigate and offers a variety of setting options. For this application, you’ll first select “roll.” Then set the blade force. For our window film, we have it set at 110.
Your GX-400 has a cutting speed of up to 85 inches per second. To get the best results with window film, set your speed at 30 centimeters per second.
Now you’ll open a pattern kit from the database. Select the “Open Pattern from Database” icon on the toolbar at the top of the screen.
Select the desired pattern kit from the list, and open it for review. From the open pattern kit, select the window you wish to cut. Send the file to the cutter.
Film Designs will cut the window film using a method we call “Cut on the Pull”.
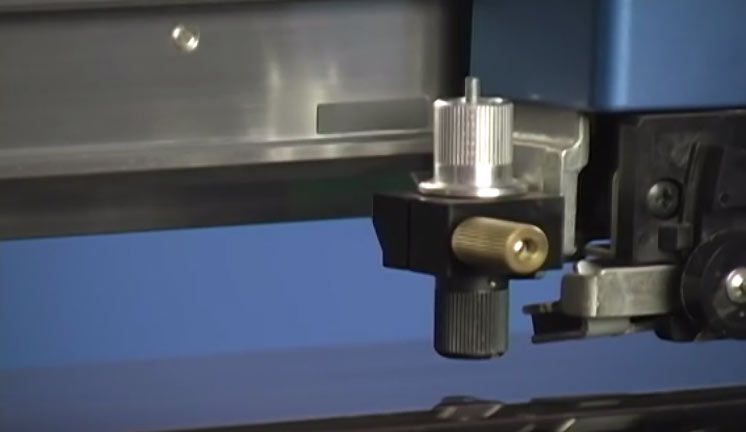
The blade holder only drops to the surface when the window film is being moved in ONE direction, providing for more consistent cuts and eliminating the possibility of the film bunching up in the cutter.
The GX-400 will precision-cut the graphic just as you designed it.
When the cutting process is finished, remove the material.
That’s it. Simply weed the excess material from your pattern (pause) and you’re ready to apply to the vehicle window using a pre-mixed solution of soap and water.
Creating Multi-Layered Designs
You can create multiple layered designs by repeating these same simple steps.
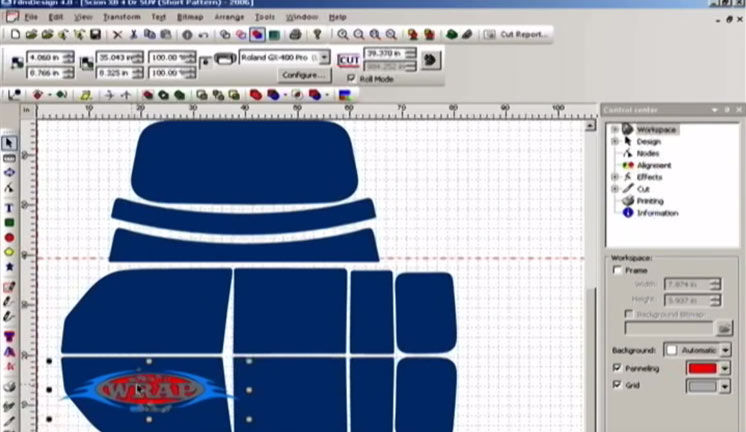
Once your pattern kit has been opened in Film Designs, you can import a graphic file or add text to your pattern.
For cutting multiple layers of film, the software allows you to assign a film color to each element of the graphic to give you an idea of what the final design will look like. Your design is ready to be sent to the cutter.
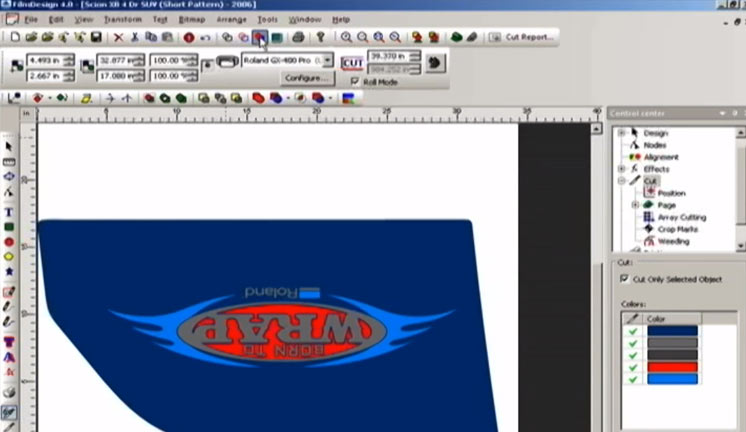
Load your lightest roll of window film. This will be known as the Transfer Sheet.
Select ONLY the pattern kit and send to the cutter.
Once finished cutting, set this pattern aside. You’ll come back to it later.
After cutting your Transfer Sheet, select the roll of film in the desired background color of your image.
Select both the pattern kit AND the graphic and send to the cutter.
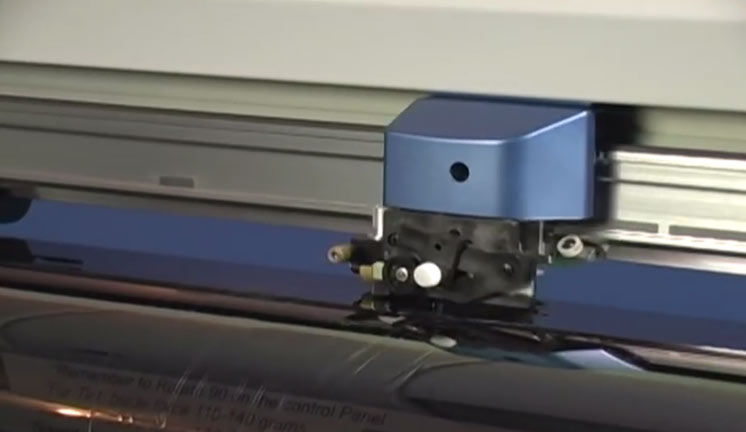
You will weed out the graphic from this piece and leave the background color. This will be known as the Template Layer.
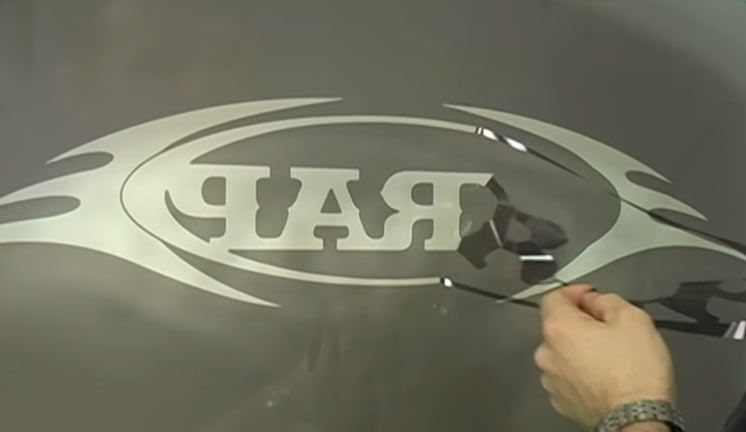
After you have cut the Template Layer, you are now ready to cut the graphic. Load your final color of film. In this case, purple.
Just as you did in the Template Layer, select both the pattern and the graphic and send them to the cutter.
This time, you will weed out the background color and leave the graphic.
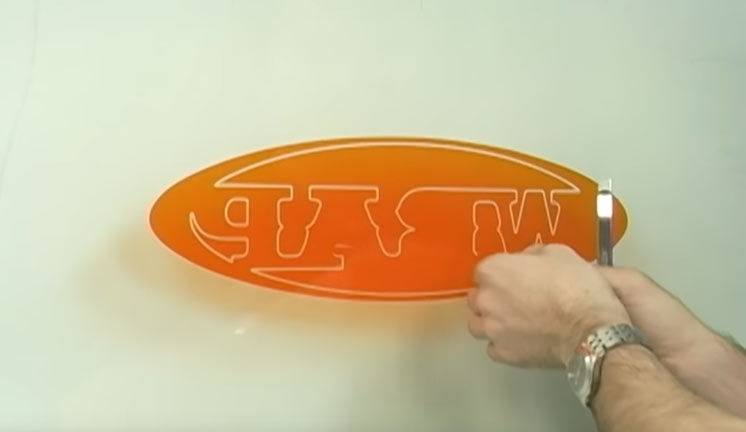
Once all of your cuts have been made, it is time to prep the graphic for installation.
It is important to keep your work areas and your film clean and free of dust or debris. A good tint install must not have any dirt between the film and the glass.
Start by applying your Transfer Sheet to the glass with the liner facing out.
Remove the liner while spraying the exposed adhesive. It is important to keep that adhesive wet so that it will not pick up any dirt or dust from the air.
Next, take your Template Layer and apply directly over the Transfer Sheet. Because these patterns were cut on a Roland DG, they will be identical and will lay over each other perfectly.
Repeat this process with the graphic layer of film. You can add as many graphic layers as you like because there will never be more than 2 layers of film at any one spot on the design.
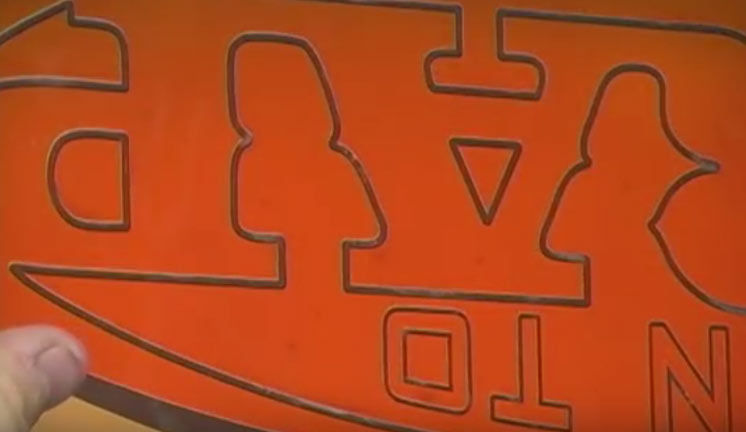
The Graphic will snap in place inside of the Template Layer and all will be held together by the Transfer Sheet.
Press all three layers are pressed together and squeeze out all the solution using the squeegee.
The multi-colored graphic is ready to be installed just like a regular window pattern.
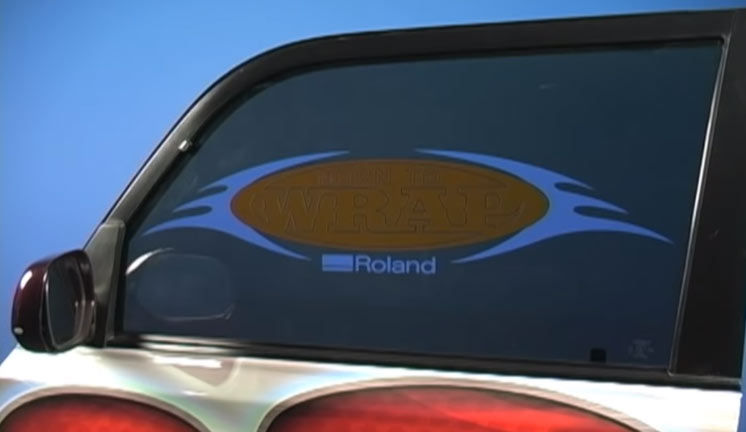
Congratulations, you have now created a custom graphic in window film!
Here’s an example of your potential return on investment.
Thanks for joining our workshop today.


