3 ways to get you out of the weeds by Daniel Valade, Roland DG’s vinyl-cutting expert
A high percentage of the questions I receive from booth visitors at various trade shows are apparel related. This supports what I already know, that custom decorated apparel continues to grow in popularity. To answer some of the common questions I get at the tradeshows, here are some really useful pointers to help you efficiently produce quality custom clothing and accessories.
Box it up
When weeding designs, create a bounding box around the part of the design that has fine lettering (or other intricate cut lines) built into it. This will not only make things easier when it comes time to weed, but also increase your overall productivity by making the weeding of difficult areas much quicker than trying to weed the entire design at once.

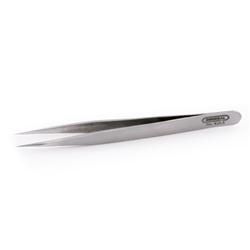
You should always have a decent pair of vinyl weeding tweezers as well as a good knife and set of pick and hook tools
During a hands-on demonstration at a recent trade show, I watched an attendee weed out the middle of a letter and then pull off the waste, weed the second letter and pull off the waste, and so on. With a quality weeding tool, you can let the waste stack up as you move from one letter to the next. While this may not seem like it would make much difference, when you have 50 or more shirts to print, weed and press, your valuable time can really start to add up.
The finer things in life
A lot of users also ask how they can get printed heat transfers to weed easier when the design has very fine lettering. Common problems include the dot from the letter “i” not remaining on the backer material and getting pulled away during the weeding process. Most of the heat transfer films used for stand-alone vinyl cutters include the mask and protective sheet as part of the roll. When using this type of film, cut a mirrored version of your design and weed from the adhesive backer that keeps fine lettering in place.
With digitally printable material, things work a bit differently, since you can only print with normal orientation and apply a separate mask to remove the design from the backing material. A great way to achieve the same effect with digital printed transfers is to mask the design before you weed away the excess material – a technique called “reverse weeding.” The adhesive on the masking material will help hold fine lettering in place, ensuring accurate registration while keeping the complete design intact. You can remove the large sections of waste, mask the fine lettering or numbers, and then simply pull away the remaining excess from the masking material with your weeding tool.
Does this look right???
“How do you make sure you are placing the design in the right place on the T-shirt?” In answer to this, I’ve heard of several different methods used to ensure proper design placement. As not everyone is equipped with an expensive heat press that features a laser alignment system, most of us will need to align our designs manually.

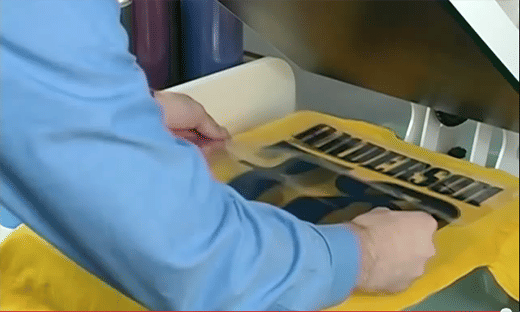
Before heat pressing – get good alignment by making sure the image is centered by folding your shirt in half to create a line down the middle.
For full front designs, a great way to make sure that the image is centered is to create a line right down the middle of the T-shirt by folding your shirt in half, and then hitting it with the heat press for a second or two. This will make it much easier to get as close to center as possible when registering the design manually.
Employ these tips when decorating custom apparel and get yourself out of the weeds. They’ll make the process so much easier and more productive.
To discover more about creating your own custom apparel with Roland DG’s range of VersaStudio desktop cutters and other versatile products, go to Roland DGA TV to see fun and helpful videos.

