When doing a full-wrap print on a cylindrical object, getting an accurate measurement of the object’s circumference and setting the file up properly in VersaWorks are necessary to ensure optimum results. Outlined below are two easy ways to measure your media to get the circumference as well as the steps you should take for file set-up in VW. Keep in mind that the largest full wrap you can do on an LEF Series printer is 11 inches. On an LEC2 S-Series flatbed, you can fully wrap objects up to 7.5 inches.
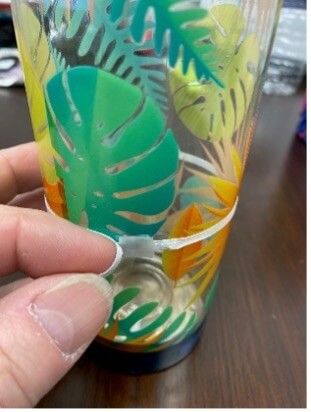
Method 1: For the first way to measure circumference, you will need a piece of string, or something similar that will easily wrap around your object. Wrap and then mark or note the point where it wraps or ends. In this case, that measurement is approximately 8.75 inches.
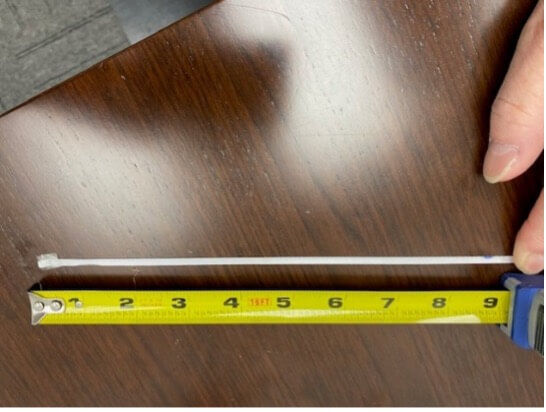
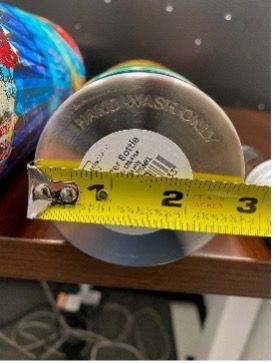
(2.75 + 0.125) 2.87” x 3.14 = 9” circumference
Method 2: A more accurate method is to measure the diameter, then multiply by 3.14. I always add an additional 0.125" to my measurements to ensure an overlapping seam.
Quick Setup Review When Using an LEF2-300
Place item in the Rotary Rack and go to “Setup.” Set the height, then set base point using red dot LED light. Next, set the length using the same method. Make sure your rollers are on the table, then ensure that the table has enough length to allow for the print wrap (in this case, it will need to be at least 9“).
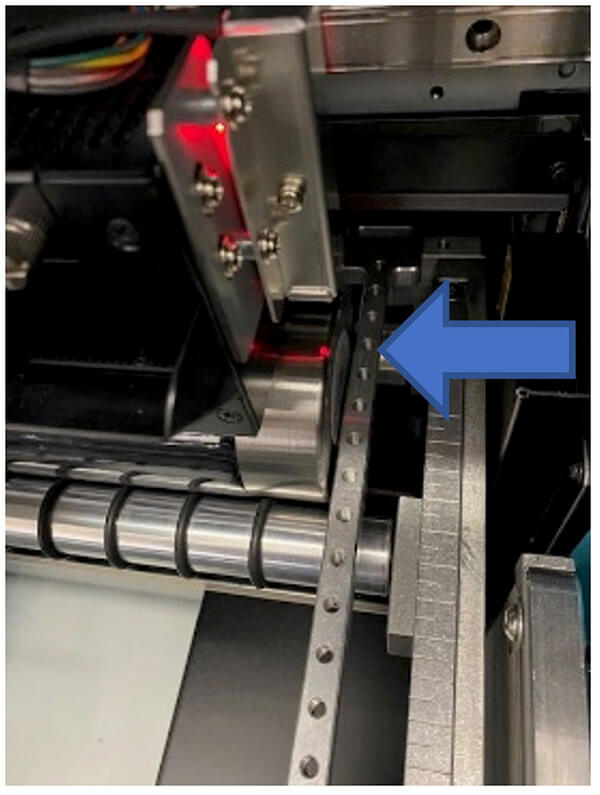
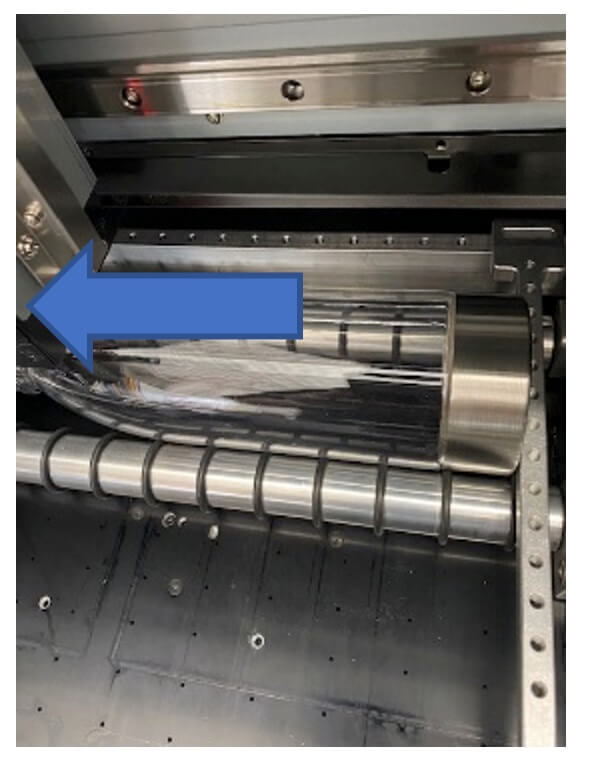
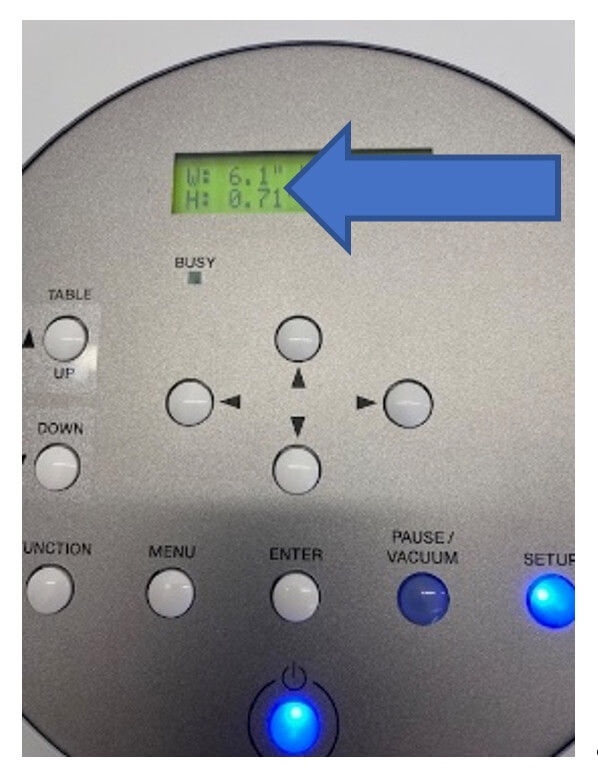
Basic Setup and Print from VersaWorks
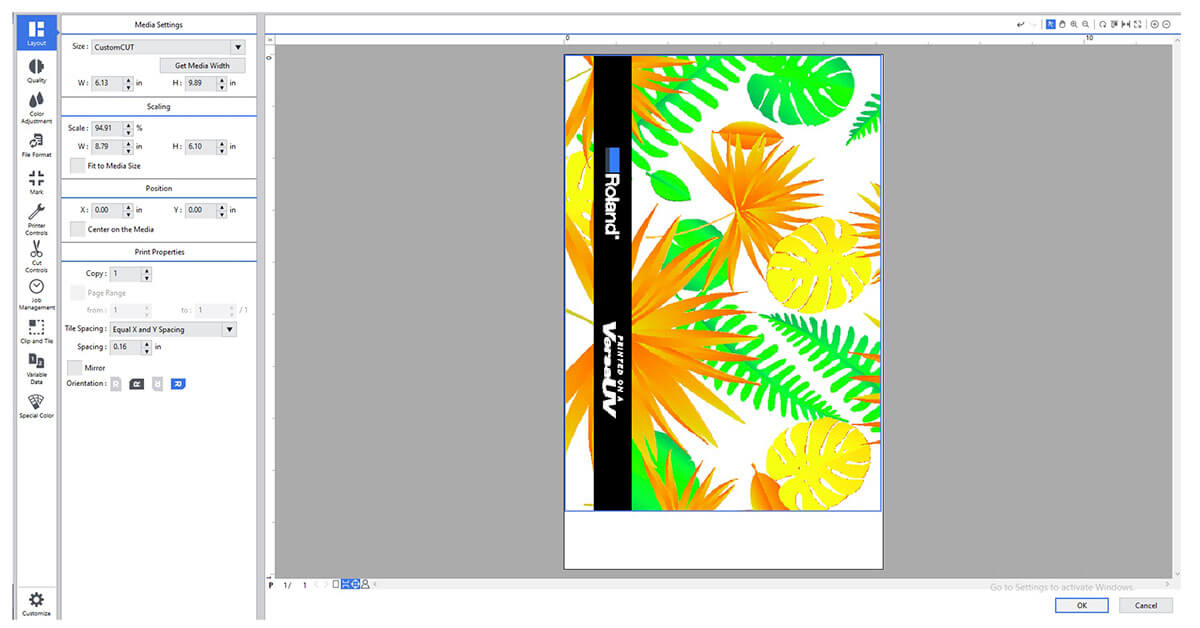
After placing the file in the proper queue:
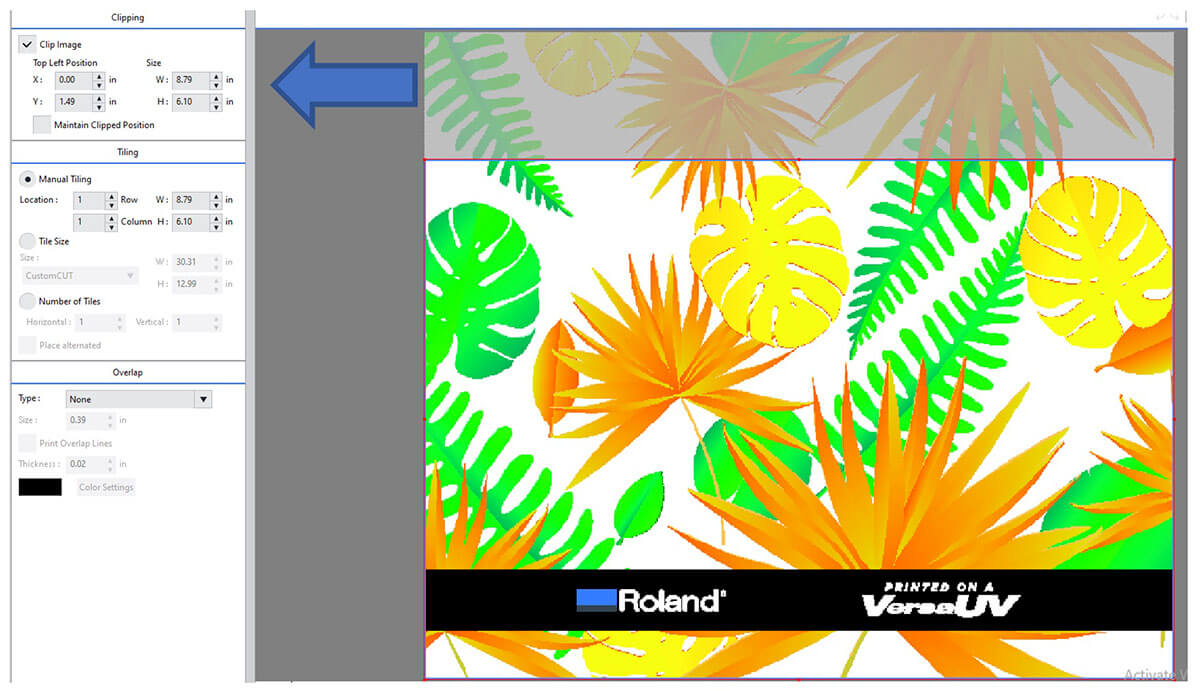
Note: If the artwork is too large, it may need to be clipped to fit.
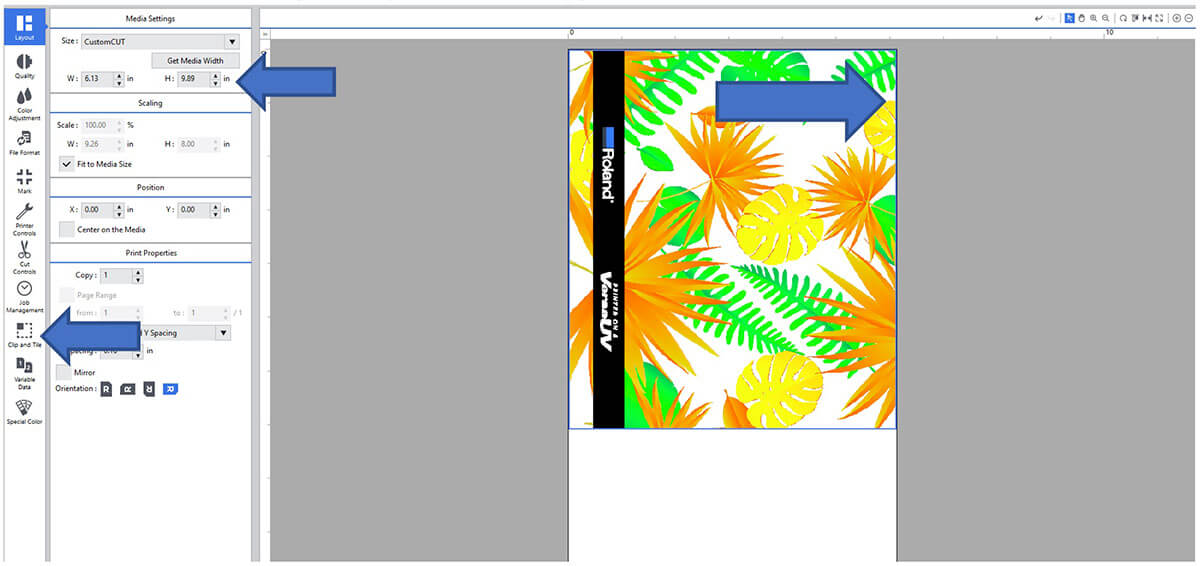
We hope the information provided above will be useful as a quick reference for properly setting up to print on cylindrical objects with the Rotary Rack accessory. For more set-up videos, visit https://www.rolanddga.com/gallery/roland-tv/product-support/printers/lef.

