Creating an Exciting New Look with Rhinestones
Roland DG R-Wear business solutions enable apparel shops to attract new customers with the power of personalization. With established Roland DG output devices, Roland DG R-Wear Studio design software lets you quickly add tremendous value to everything from jeans and t-shirts to hats and handbags.
We all know that print and cut graphics transform apparel from boring into special pieces that your customers really value. Now, let’s take a look at how rhinestones can take those special pieces to an even higher level. Adding some sparkle increases the appeal, and ultimately the value, of a custom t-shirt.
How it Works
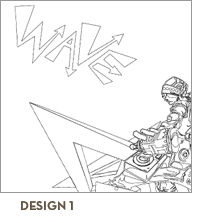
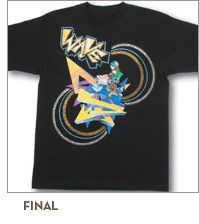
- Using any design program, scan in an existing t-shirt graphic or create one from scratch.
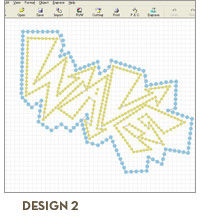
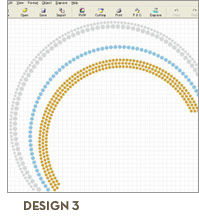
- Import the design into Roland DG R-Wear Studio software. At this point, you can easily create and properly position additional rhinestone visual elements. (Design2 and Design3)
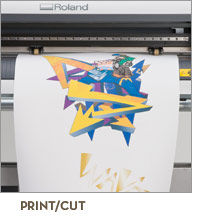
- Print and then contour cut the graphics with a Roland DG GX-24 digital cutter and weed away the excess material. Be sure to provide cutouts for any rhinestones that overlay the graphic. You can also print and cut the graphics in a single step using the Roland DG VP-300 printer/cutter. (print/cut)
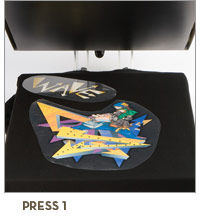
- Using a heat press, transfer the color graphics onto the t-shirt. (press1)
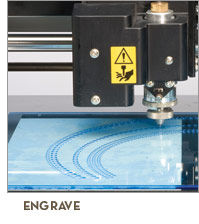
- Using the Roland DG EGX-30A, engrave placement templates for the additional rhinestone elements. (engrave)
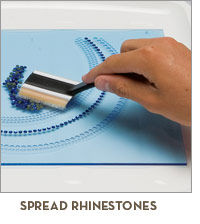
- Spread the hot-fix rhinestones into the templates and lift with transfer tape for easy placement. It is important that all rhinestones be affixed directly onto the garment, as they will not affix properly on top of HTM material. (spread rhinestones)
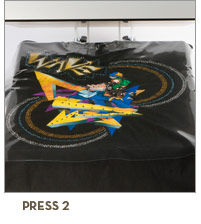
- Position the rhinestone transfer tape correctly on your existing graphic and use a heat press to fix the rhinestones onto your garment. (press2)
Equipment Needed
- Roland DG R-Wear Studio Software
- Roland DG VersaCAMM printer/cutter or Roland DG GX-24 cutter
- EGX-30A engraver
- Scanner
- Heat press
- Hot fix transfer tape
- Colorful hot-fix rhinestones

